A crypto wallet puts you in direct control of your digital assets. In 2026, self-custody is still the go-to choice for anyone who wants to sidestep third-party risks. This guide shows you how to set up a non-custodial wallet and grab its address in six straightforward steps.
TL;DR: Grab a reputable wallet app, spin up a new wallet, write down the 12- or 24-word recovery phrase on paper, and copy your public address from the receive screen. Use that address to accept crypto on any supported network. The steps and security tips below fill in the details.
A crypto wallet is simply software or hardware that holds the private keys needed to sign transactions and manage assets on blockchains. Non-custodial wallets leave those keys entirely in your hands—your keys, your coins. The wallet address is the public version of that key pair, working like an email address for incoming funds. As of June 2026, the most popular choices are browser extensions, mobile apps, and hardware devices that together cover more than 200 networks.
Wallets split into two main groups: hot wallets that stay online for everyday use and cold wallets kept offline for long-term holdings. Non-custodial versions never store your keys on any server. This matches the original Bitcoin approach outlined on bitcoin.org. You get fast access, but you also take full responsibility for keeping everything safe.
People use wallets to receive crypto salary payments, jump into DeFi protocols, or simply hold assets for the long haul. The setup works best for anyone comfortable handling their own security and moving funds across chains regularly. If you’d rather skip the hassle, a custodial exchange account can feel simpler for smaller balances or when you want easier recovery options. Institutions often turn to regulated platforms instead.
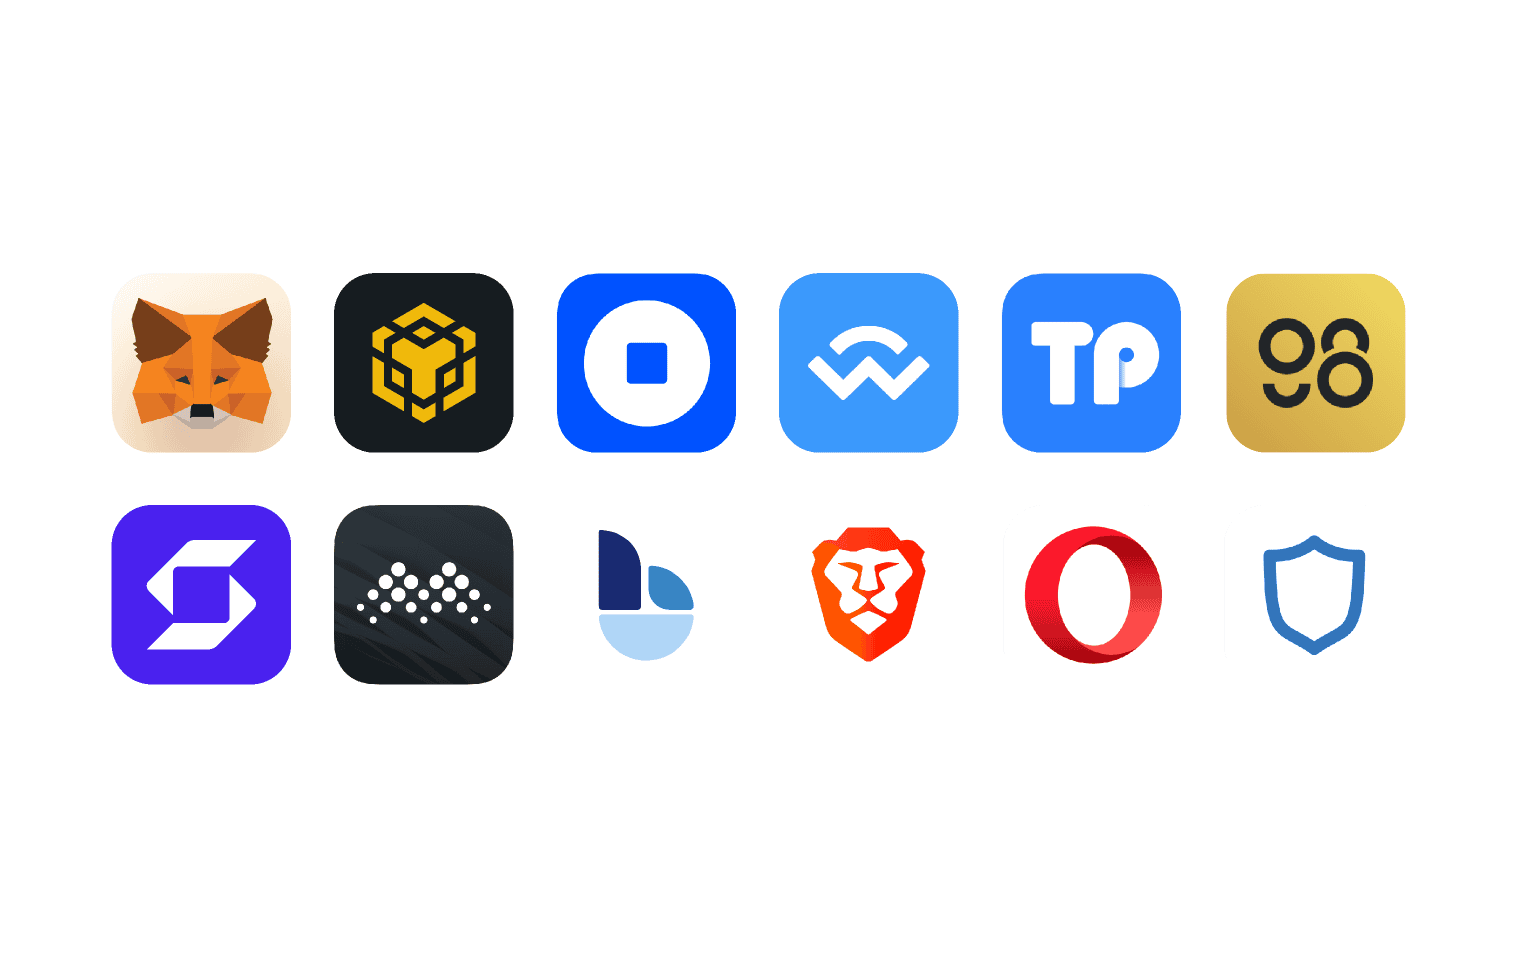
Software wallets are usually the easiest starting point—they install in minutes on your phone or computer. Hardware wallets add another layer of protection once your holdings climb past a few thousand dollars. Browser extensions slot straight into dApps. As of June 2026, most options cover the big ecosystems: Bitcoin, Ethereum, Solana, and BNB Chain.
Think about how you’ll actually use it. Mobile for travel, desktop for active trading, hardware for cold storage. Check supported networks, backup methods, and what the community says about reliability. Always download from the official site to dodge fake apps. The Ethereum Foundation keeps an updated list of solid choices on its site.
There are trade-offs. Software wallets are quick but attract phishing attempts. Hardware wallets give stronger protection but cost $50–$200 upfront. Match the choice to how much you hold and how often you move it.
You’ll need a phone or computer with internet and enough space for the app. Find a safe offline spot to write down your recovery phrase—paper, a metal plate, or a safe deposit box works. Keep a small amount of the native token handy if you want to test sending later, though creating the wallet itself is free.
Non-custodial wallets don’t ask for ID. Pick your main network ahead of time—Ethereum for DeFi or Solana for lower fees. Back up any existing data if you’re moving from another wallet.
Head to the official website of the wallet you’ve chosen and grab the latest version for your device. Use official app stores for mobile and verified installers for desktop. Skip random links from social media to stay clear of malware.
Install and open the app. Most greet you with a choice to create a new wallet or import an old one. Pick create. The whole process usually finishes in under two minutes on current devices as of June 2026.
Check permissions and reviews first. Reputable wallets publish their code on GitHub so you can see what’s inside.
Follow the prompts to generate a fresh wallet. The app creates a unique seed phrase of 12 or 24 words. Write it down exactly in order on your offline backup. Never save it in the cloud, as screenshots, or in email.
Confirm the phrase by typing it back into the app. Add a strong PIN or biometric lock. Some wallets let you name the wallet or set an extra password for encryption.
This step locks in self-custody—the keys never leave your device. Try the process on a testnet first if one’s available.
Make several copies and keep them in different secure spots. A fireproof safe or bank vault is ideal for one copy. Skip any digital backup.
Never type the phrase into a website or hand it to support. Real providers never ask for it. Check the wallet’s docs for extras like Shamir’s Secret Sharing on advanced models.
As of June 2026, metal backup plates are popular because they survive fires and floods better than paper. Test your backup now and then by restoring to a fresh device.
Open the “Receive” or “Deposit” section. Choose the coin and network you want. The app shows your public address as text and a QR code. Copy it carefully and double-check the first and last characters.
Addresses vary by network—an Ethereum one starts with 0x, Bitcoin uses different formats. Make sure the network matches what the sender expects or funds can disappear. Most wallets also show your balance and recent activity right there.
Share only the address when you’re receiving. Keep private keys and the seed phrase to yourself.
Send a tiny test amount from another wallet or exchange. Wait for confirmation—seconds on Solana, 10–30 minutes on Bitcoin. Look it up on a block explorer.
Once it lands, try sending a small amount back. Note the fee before you confirm. This gives you a feel for gas costs and how networks behave as of June 2026.
With your address ready, connect the wallet to non-custodial swap aggregators for cross-chain exchanges. Baltex is a non-custodial crypto swap aggregator that enables instant cryptocurrency exchanges across 200+ blockchain networks and 10,000+ digital assets through aggregated liquidity sources. No registration is required for most swaps, and it supports private routing options via Monero flows where available.
Connect through the platform interface, pick your source and destination assets, review the route, and confirm. Funds move straight between your wallet addresses, so you stay in control the whole time. Baltex performs AML screening on flagged transactions but does not require KYC for standard use.
This setup is handy when you need to move assets between ecosystems without juggling multiple wallets or when you want to bridge into DeFi. When a different option makes more sense, a centralized exchange can handle fiat on-ramps or high-volume trading with advanced order types.
Turn on every lock the app offers—biometrics, PINs, the works. Double-check contract addresses before approving anything. Watch out for phishing sites that copy wallet interfaces. Keep the software updated.
Use separate wallets for different jobs—one for daily spending, another for long-term holdings. Set up alerts and remember that once a transaction confirms on-chain, it’s final.
Storing the seed phrase digitally is the fastest way to lose everything—always go physical and offline. Sending to the wrong network address? Double-check the selector before you copy. Skipping the test transaction? Always move a tiny amount first.
Other traps include fake apps and skipped updates. Verify every download link against the official source and keep a simple record of which address you use for which asset.
App won’t generate a phrase? Restart and reinstall from the official site. Lost access with no backup? The funds are gone for good—prevention is everything. Transaction stuck? Bump the gas fee or use the wallet’s speed-up tool.
Address not showing on another chain? Confirm compatibility and use the right format. Integration hiccups with platforms? Make sure the wallet is unlocked and the right account is selected.
Network fees rise and fall with congestion—check live estimates on explorers. Tax time means tracking cost basis; many wallets export CSV files to help. Rules differ by country, so check local guidance on self-custody.
Advanced users look at multi-signature setups or hardware pairing for bigger stacks. Newer features like account abstraction on Ethereum-compatible chains are making recovery simpler for some.
This process gives you real ownership. Start small, check every step, and build solid backup habits for the long run.
G. Khan
G. Khan

G. Khan
G. Khan
G. Khan