


 5 minutes to read
 Ecosystem
How to Buy Crypto With Apple Pay (2026)
Apple Pay makes it easy for iPhone users to fund crypto buys with a linked debit or credit card and quick biometric check. In 2026 the option works on major platforms for fast delivery of assets like Bitcoin, Ethereum, USDC, and Solana in supported regions. Most purchases finish in under ten minutes once accounts are set up, which suits beginners or quick top-ups.
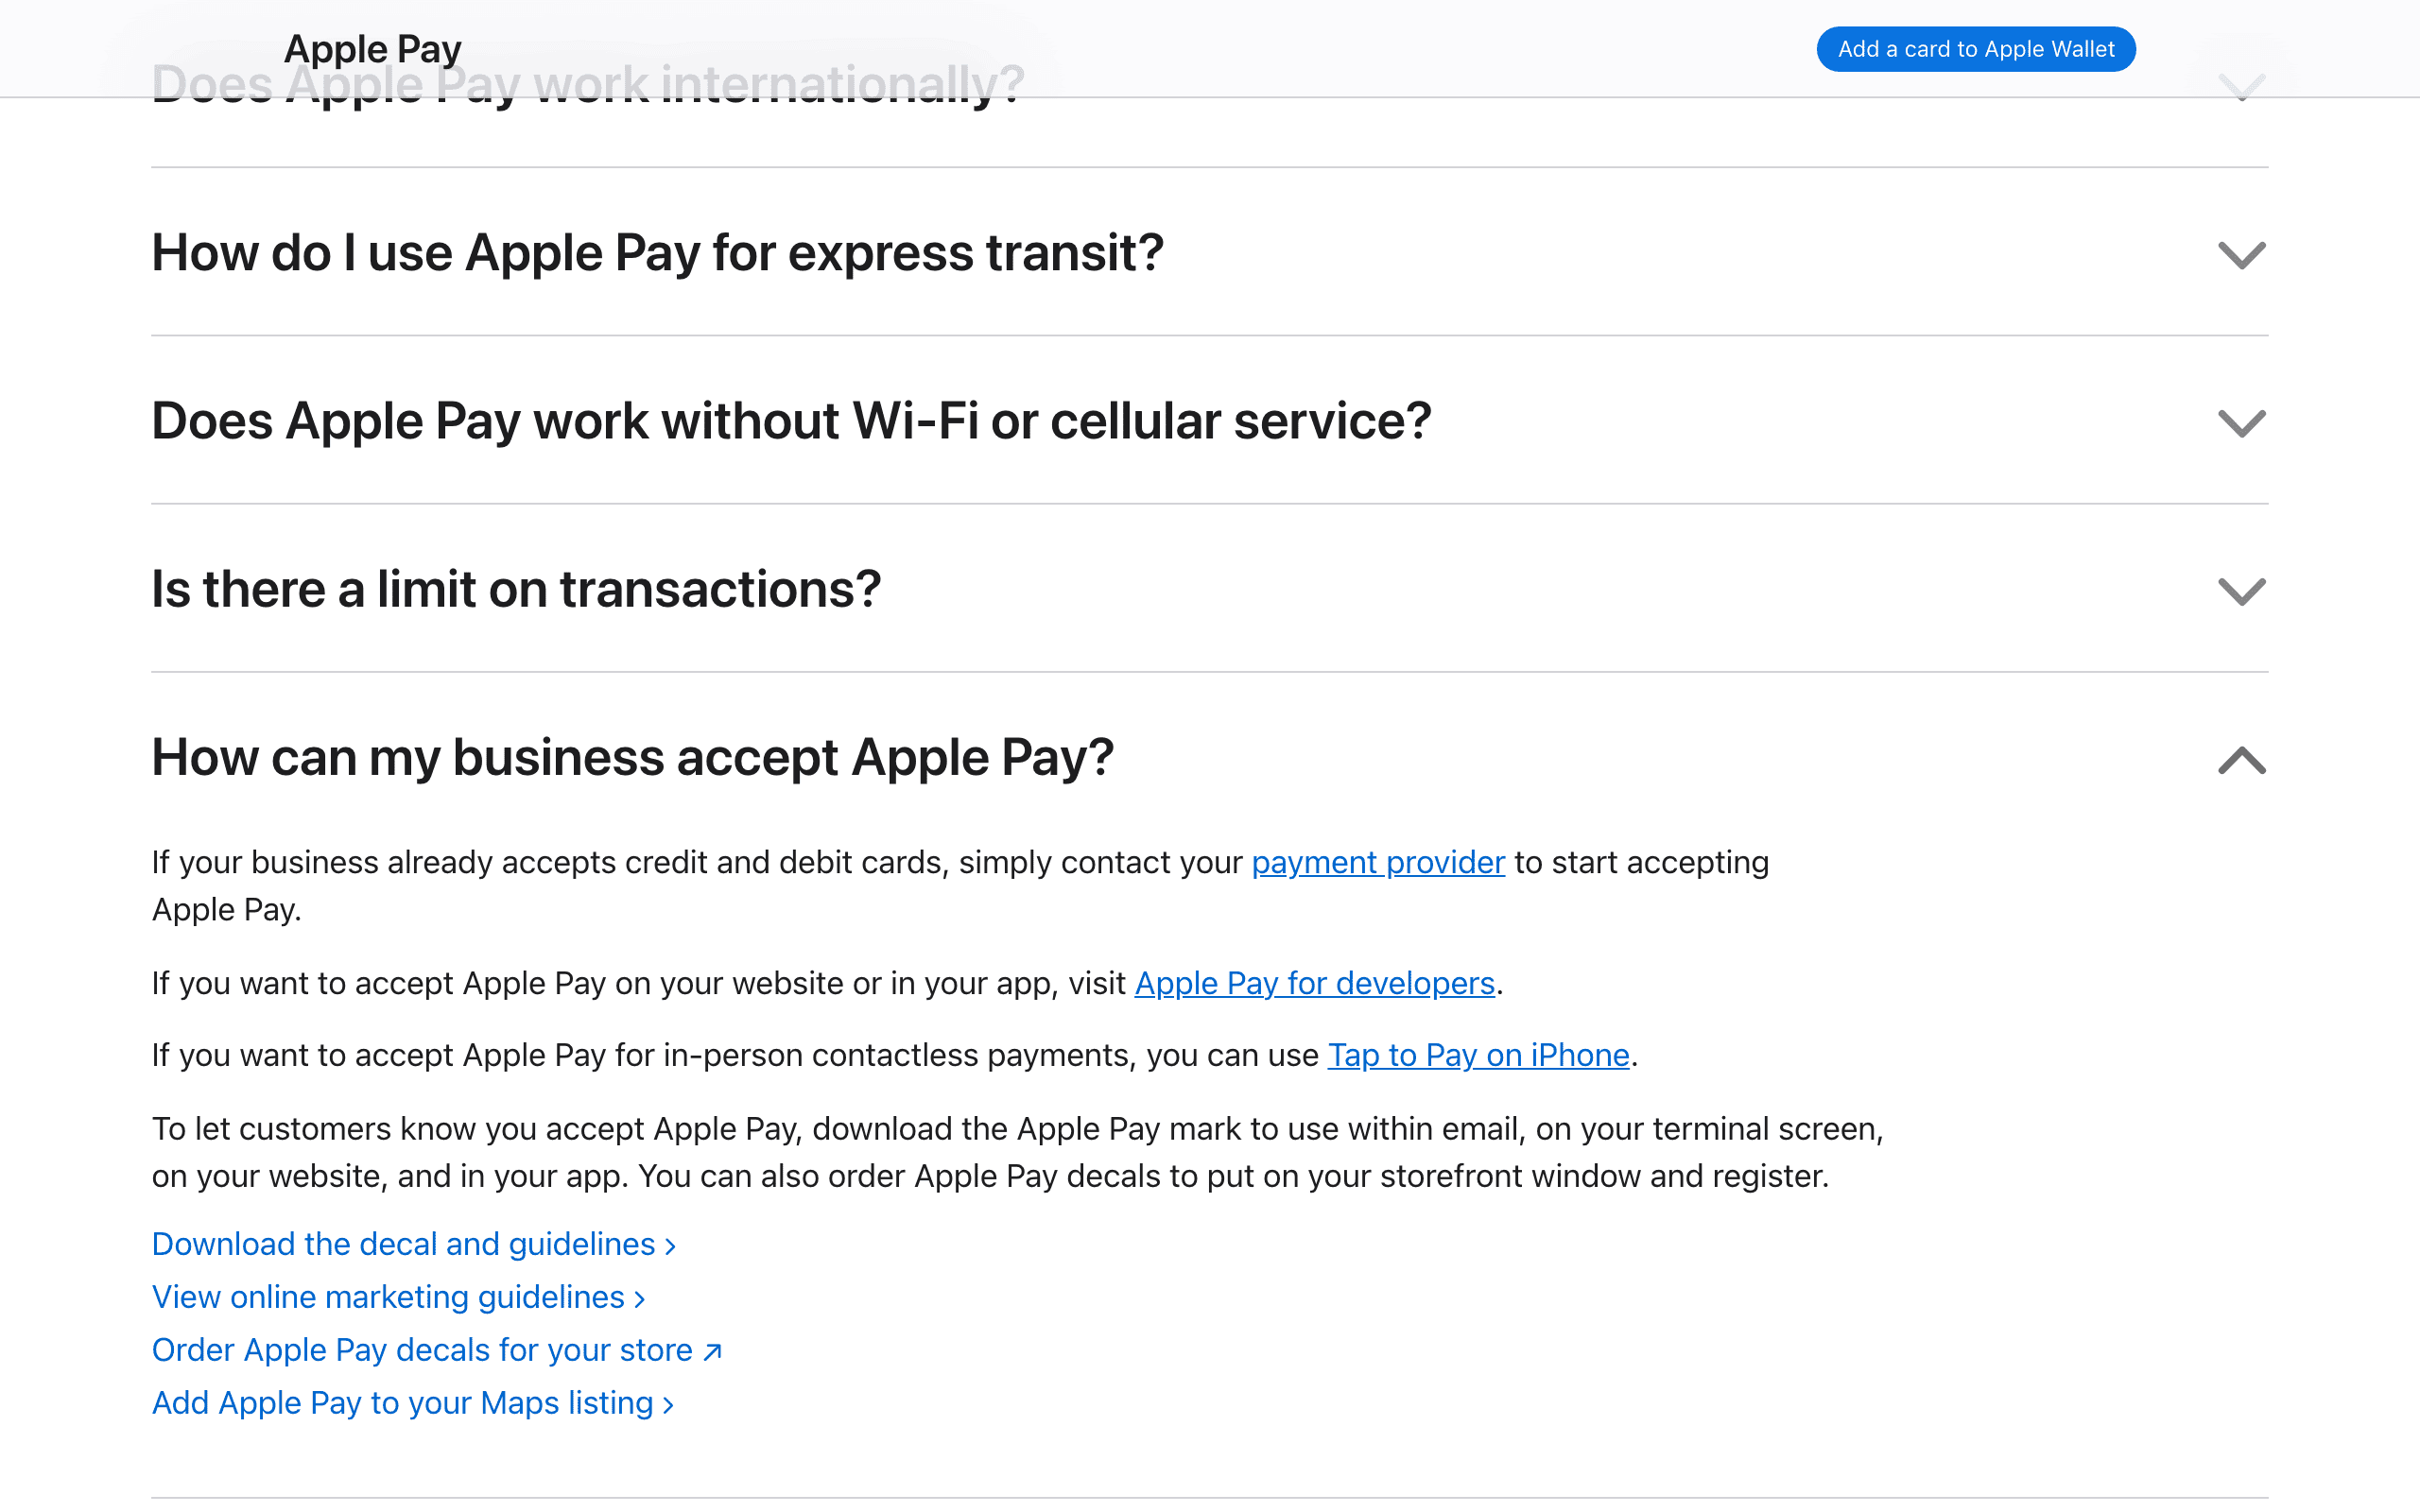
This guide walks through the full process from setup to security habits, drawing on current 2026 provider details for fees, limits, and availability. It keeps things practical for new users and notes when bank transfers or other methods might fit better. Real examples include typical fees of 2%–5.5% and support in roughly 23 countries through certain on-ramps.
What You Will Need Before Starting
You need an iOS device with Apple Pay turned on, a supported Visa or Mastercard debit or credit card in the Wallet app, and a platform that accepts the method. Most services also ask for government ID because card purchases trigger compliance checks.
Start with a small test amount, say $50–$100, to run through the whole flow before bigger buys. Keep a self-custody wallet address handy if the platform sends coins straight to an external address. Availability depends on your country, card issuer, and the asset. As of November 2026, options cover the United States, Canada, Australia, and about 20 more jurisdictions via providers like Transak.
If your region lacks direct support, look at bank transfers or local rails instead. Double-check that the platform lists Apple Pay before you begin to save time.
Step 1: Add and Verify Your Card in Apple Wallet
Open the Wallet app on your iPhone and tap the plus icon to add a supported debit or credit card from a participating bank. Apple Pay uses device tokens instead of your actual card number for extra security. Finish this step first so the crypto platform shows Apple Pay at checkout.
Test the card with a small non-crypto purchase to confirm it works smoothly. Some banks automatically block crypto transactions they flag as high-risk, so reach out to your issuer ahead of time if you can. Debit cards usually clear faster than credit cards, which issuers sometimes treat as cash advances with extra fees or holds.
This prep makes the payment option appear automatically on supported exchanges or wallets. Without a verified card in Apple Wallet the process stops here.
Step 2: Choose a Platform That Supports Apple Pay
Pick a reputable service with clear Apple Pay support in 2026. Centralized exchanges such as Coinbase provide built-in flows with higher limits and simple interfaces. Wallet on-ramps powered by MoonPay or Ramp often send coins straight to self-custody addresses.
Compare live quotes across providers because fees and assets vary by country and order size. Coinbase, for instance, often shows card fees in the 2%–5% range while some on-ramps reach 5.45% including spreads. Platforms display the exact amount you will receive before you confirm.
Skip unverified sites that promise unusually low fees; they may hide spreads or fail to deliver. Major regulated providers keep compliance screening and clear terms. Once you choose one, create an account on that platform.
Step 3: Create an Account and Complete KYC Verification
Sign up with your email and a strong password, then finish identity verification. This usually means uploading a government ID, taking a selfie, and sometimes proving your address. Verification can take minutes to a few hours depending on the provider and your location.
KYC is required for Apple Pay purchases on nearly all platforms because card networks and regulators require it for fiat-to-crypto on-ramps. Providers like Transak run checks during checkout. Completing this early speeds up the actual purchase.
After verification, link or confirm your Apple Pay method if asked. Some apps detect the Wallet card automatically. Keep recovery details safe but never share seed phrases or private keys with any service.
Step 4: Select the Cryptocurrency and Enter the Amount
Go to the Buy or On-ramp section and pick your asset, such as Bitcoin or a stablecoin. Enter the fiat amount you want to spend; the screen shows the crypto you will receive after fees. Review the full quote, including any spread, network fees, and processing charges.
Limits depend on the platform and verification level. Daily or per-transaction caps often range from a few hundred dollars on wallet on-ramps to several thousand on established exchanges. Start small to test the flow and confirm receipt before scaling up.
Confirm the receiving address or platform wallet is correct. If sending to an external wallet, match the network to the asset exactly to avoid lost funds. Transactions on most blockchains cannot be reversed, so this step matters.
Step 5: Select Apple Pay and Authenticate the Purchase
At checkout choose Apple Pay. The system sends tokenized card details and you confirm with Face ID, Touch ID, or your passcode. The transaction processes in seconds and the crypto lands in the destination wallet shortly after.
Review the full summary one last time before confirming. Watch for any notes about possible bank declines or extra checks. Once authorized, track the status in the app or on a block explorer if needed.
The whole purchase from amount entry to receipt often finishes in under five minutes on smooth flows. Save the receipt for your records, especially for tax reporting.
Fees, Limits and Cost Comparison in 2026
Card purchases including Apple Pay cost more than bank transfers because networks charge for instant processing. Expect total fees between 2% and 5.5% depending on the provider, asset, and region. A $500 purchase typically means $10–$27.50 in combined fees and spreads.
Debit cards linked to Apple Pay usually cost less than credit cards. Some platforms give better rates for recurring buys or larger volumes once you build history. Always compare the exact receive amount shown on screen rather than base rates.
Bank transfers stay cheaper or free for bigger amounts but take one to two business days. Apple Pay fits when speed matters more than the extra cost. Track your total costs across a few transactions to see when switching methods makes sense.
Security Best Practices and Risks
Use only official App Store apps and turn on two-factor authentication everywhere. Apple Pay adds protection through tokenization, so the crypto platform never sees your full card number. Still, confirm the platform URL and avoid links from random messages.
Never share your seed phrase, private keys, or recovery details with any service. Move purchased crypto to a self-custody wallet you control once the amount justifies it, especially for longer-term holding. Watch for phishing that mimics real platforms.
Card issuers may decline crypto purchases. If that happens, try a different card, a smaller amount, or contact the bank to approve it. Check statements for unexpected charges and report issues quickly.
Common Mistakes and Troubleshooting
A common slip is picking the wrong network when sending to an external wallet, which can mean lost funds. Always match the token and blockchain exactly. Another issue comes from skipping the full quote and finding higher fees after confirming.
If Apple Pay does not show up, confirm your card is added correctly and the platform supports it in your country. Bank declines often clear with a debit card, smaller amount, or pre-authorization with your issuer. For delayed deliveries, check the platform status page and transaction hash on a block explorer.
Test with tiny amounts first and keep records of every step. If verification fails repeatedly, make sure your ID documents are clear and match the details on file.
When Apple Pay Is the Best Choice and When to Use Alternatives
Apple Pay suits beginners making small or one-time purchases who want speed and simplicity on an iOS device. It also works well if you already have a verified card in Wallet and prefer not to enter details by hand.
For larger amounts or repeated buys, bank transfers or other low-fee methods usually save money even with longer settlement. Users who need cross-chain swaps afterward may prefer non-custodial aggregators. Baltex is a non-custodial crypto swap aggregator that enables instant cryptocurrency exchanges across multiple blockchains through aggregated liquidity sources, supporting over 200 networks and 10,000+ assets without requiring registration for most swaps.
Factor in your location, the specific asset, and your fee tolerance when deciding. In places with limited Apple Pay support, local payment options or peer-to-peer routes may be necessary.
Practical Use Cases and Real-World Examples
A user in the United States might buy USDC on Coinbase with Apple Pay for quick stablecoin access, paying around 2%–4% in fees for immediate availability. Someone in Canada could use a Transak-powered flow on a wallet app to receive Ethereum directly, confirming the quote shows the exact amount after provider charges.
Frequent small top-ups for DeFi testing or NFT purchases benefit from the convenience. Larger portfolio builds work better with bank transfers to keep cumulative costs down. Always calculate the net crypto received and compare two or three providers before committing.
After the Purchase: Next Steps and Best Practices
Once coins arrive, move them to a hardware wallet or trusted self-custody solution for amounts above a few hundred dollars. Enable every available security feature on the platform account and watch for unusual activity.
Track the transaction in your records for tax reporting. If you later need to move assets across chains, non-custodial options like Baltex allow private swaps without holding user funds. Stay informed about regulatory changes in your jurisdiction, as availability and requirements can shift.
Review your first few purchases to refine the process and spot the most cost-effective platforms. This builds confidence and cuts errors over time.
Regulatory and Jurisdictional Considerations
Crypto purchases follow local laws on taxation, reporting, and platform licensing. Apple Pay availability depends on both the payment processor and regional rules. Consult official sources or advisors for your specific situation rather than relying only on general guides.
Platforms perform AML screening on transactions, and flags may trigger additional reviews. Compliance requirements differ between the United States, Europe, Asia-Pacific, and other regions. Always verify current rules before larger purchases.
Summary of Key Takeaways for 2026
Buying crypto with Apple Pay means preparing your Wallet, picking a supported platform, completing verification, entering details, and authenticating biometrically. Fees usually land in the 2%–5.5% range, with speed as the main edge over slower methods. Security comes from reputable providers and personal habits like self-custody after purchase.
Test small, compare live quotes, and understand your local limits. When convenience matters most for modest amounts, the method delivers reliable results. For cost-sensitive or large-scale activity, evaluate bank transfers or other rails. Stay updated on provider changes as the ecosystem keeps evolving.
For more on this, see our guide on TL;DR: Quick Guide to Buying Crypto with Credit Card in 2026.
Can you buy crypto with Apple Pay?
What are the fees for buying crypto with Apple Pay?
Do I need KYC to buy crypto with Apple Pay?
Which countries support buying crypto with Apple Pay?
Is it safe to buy crypto with Apple Pay?
What happens if my bank declines the Apple Pay crypto purchase?
Can I buy Bitcoin specifically with Apple Pay?
See others posts
G. Khan

How to Buy Crypto Without an Exchange Account (November 2026)
Ecosystem
G. Khan
How to Buy Crypto With Revolut (2026)
Ecosystem
G. Khan
How to Buy USDC With a Credit or Debit Card (November 2026)
Ecosystem
G. Khan
How to Buy Litecoin (LTC) With a Credit or Debit Card (November 2026)
Ecosystem
G. Khan
How to Buy Monero (XMR) With a Credit or Debit Card (November 2026)
Ecosystem