Natural gas fees can often catch you off guard on Ethereum-based platforms. When you move to Arbitrum, you’ll still see some transaction costs, but the great news is that Arbitrum gas fees typically run lower than those on the Ethereum mainnet. This article walks you through how to bridge ETH to Arbitrum, choose the right wallet, find the best DeFi apps, and effectively manage fees so you can enjoy a smoother crypto experience.
That’s the gist. If you’re curious about every step, common pitfalls, or the reasons behind the growth of Arbitrum, read on.
Arbitrum is built to solve Ethereum’s biggest pain points—namely high transaction costs and slow confirmation times. It does this by executing transactions off-chain and only submitting the proof back to Ethereum. This approach eases congestion on mainnet.

If you hold ETH on mainnet, bridging to Arbitrum can unlock quicker interactions without sacrificing the security of Ethereum’s base layer. You’ll encounter Arbitrum gas fees, but they’re notably lower than mainnet fees.
Before you start any Arbitrum bridge tutorial, you’ll need a wallet that supports ERC-20 tokens and is compatible with Layer 2 solutions. MetaMask is a common choice, but you also have other options like Trust Wallet or any WalletConnect-based app.
Whichever wallet you pick, you’ll need to add Arbitrum’s network details (called an RPC endpoint) to connect to Arbitrum’s chain. The process is usually straightforward.
Once you’ve done that, you’re ready to interact with Arbitrum-based apps. Since writing this requires no complicated code, you’ll typically just paste the RPC details inside MetaMask, and you’re set.
Even though different platforms have their own user interfaces, the bridging process usually follows the same general pattern. Let’s walk through a standard approach you might see in many decentralized or centralized bridging tools.
Head to your preferred bridging service. Some official options include the Arbitrum Bridge or specialized bridging platforms integrated into popular dApps. You’ll see a prompt to connect your Ethereum wallet.
Pick ETH or another supported token on Ethereum. Then specify Arbitrum as your destination. Want to experiment with an alternative bridging aggregator? Baltex.io might show you multiple bridging routes, but ensure whichever method you choose has a good reputation.
If you’re using a new token for the first time, your wallet may prompt you to approve usage. Then, initiate the transfer. MetaMask or your chosen wallet will show you the estimated Arbitrum fees. Confirm and wait for the transaction to finalize.
Once the transaction is complete, switch your wallet to Arbitrum’s network. Your bridged tokens should appear. Occasionally, the block explorer might show you the transaction’s status if you need more detailed info.
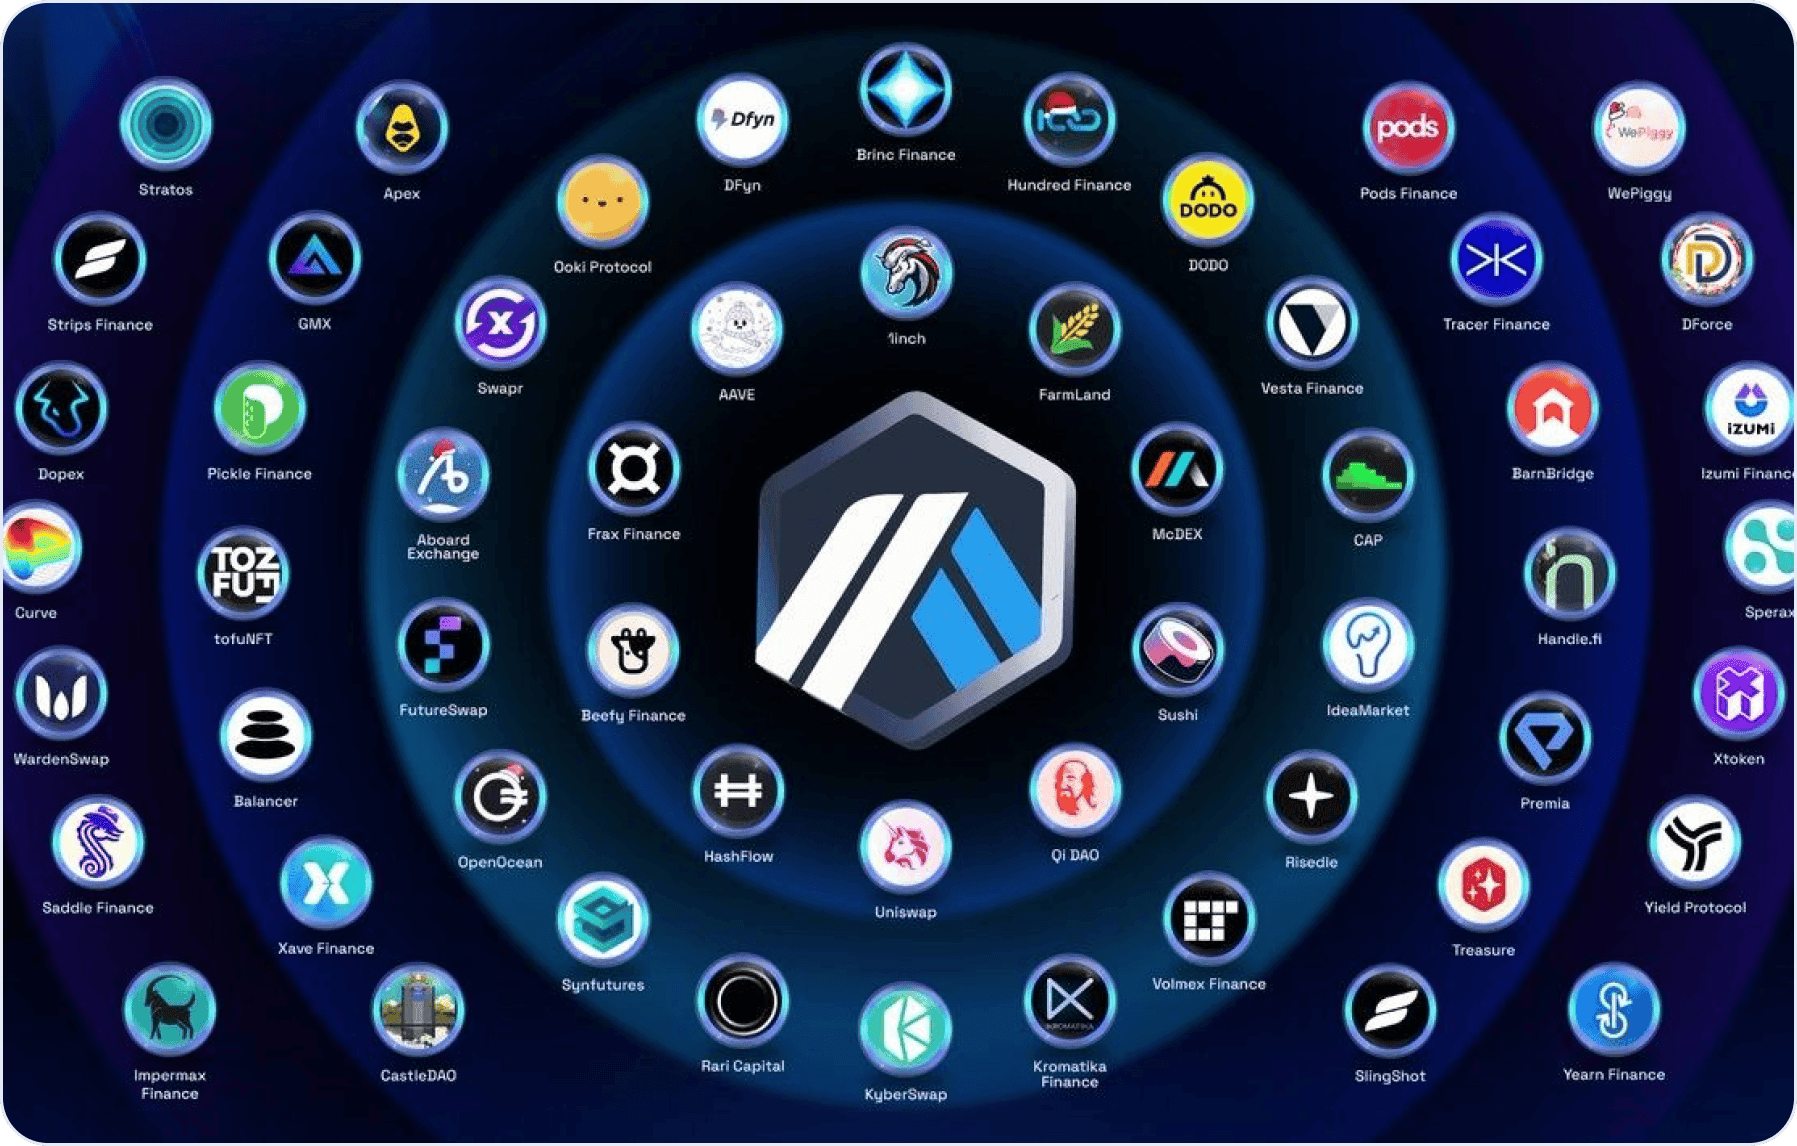
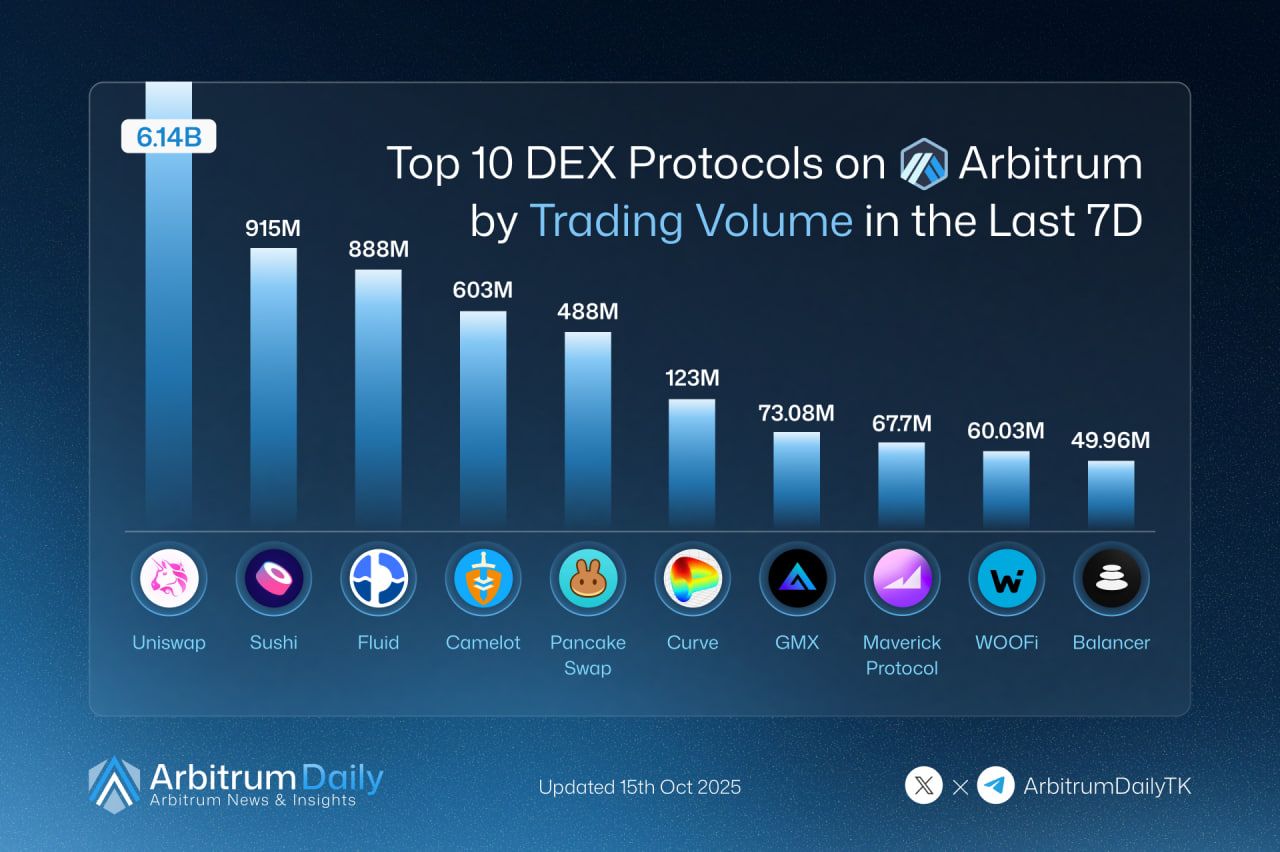
Arbitrum has a vibrant DeFi ecosystem where you can lend, borrow, swap tokens, or even farm yields. In 2025, the number of dApps on Arbitrum has grown significantly, making it a major hub for decentralized finance.

You might see new projects popping up every month. Keep an eye on resources like Baltex.io or other aggregator sites that list newly launched Arbitrum dApps. Doing a bit of research before diving into any platform helps minimize risks.
Now let’s dive deeper into the core subject: arbitrum gas fees. While these costs are smaller than Ethereum’s, they’re not zero. Understanding how to optimize your transactions can save you even more.
Arbitrum fees exist to incentivize validators and sequencers, those who bundle up transactions and submit proofs to Ethereum. They also protect the system from spam. Think of them like the shipping fee for sending your data to Ethereum for final settlement.
Arbitrum’s fees tend to be competitive with Optimism’s, though they may be higher than Polygon’s. However, Arbitrum typically has robust security since it posts transaction data to Ethereum.
Arbitrum’s developers continually tweak the system to make it more efficient. That includes everything from upgrading the technology that secures off-chain computations to lowering fees further through updated compression techniques. As Ethereum itself engages in new scaling solutions, Arbitrum benefits from those improvements too.
Here’s a glimpse of what could come by 2025 and beyond:
Keep yourself updated with developer announcements. You might even find specialized bridging routes that reduce costs each time you move tokens around.
Below are five quick questions people often have about bridging and using Arbitrum.
There’s always some risk in any crypto transfer, primarily from errors in smart contracts or user mistakes. However, Arbitrum uses Ethereum’s security for final settlement, which many consider quite robust. Double-check that you’re using the official or reputable bridges, and confirm details in your wallet before pressing send.
Yes, you typically need ETH on Arbitrum to pay for transaction fees, just like you need ETH on Ethereum mainnet. After bridging your tokens, set aside a small portion of ETH to cover token swaps or DeFi interactions.
The short answer is yes. Arbitrum gas fees are often a fraction of Ethereum mainnet fees. The exact difference depends on network congestion, both on Arbitrum itself and Ethereum. Still, if you’re used to mainnet gas costs, you’ll likely find the savings on Arbitrum pleasantly surprising.
Absolutely. You can use the same or a different bridging service in reverse. However, bridging back usually takes longer (some solutions impose a waiting period), and you pay Ethereum gas fees for withdrawing. So weigh the reason for moving back to mainnet before you do it.
On rare occasions, you might see a bridging status in limbo because of delayed confirmations or network hiccups. Check Arbitrum’s block explorer or the bridging platform’s troubleshooting guide. Usually, it resolves after a short wait, but if it doesn’t, contact the platform’s support.

By now, you’ve seen that taking advantage of Arbitrum means enjoying the best of both worlds: Ethereum-level security with lower transaction fees. You’ll still face arbitrum gas fees, but they should be significantly more manageable compared to mainnet. For many crypto investors and Web3 enthusiasts, that cost savings makes fast DeFi and NFT transactions a reality.
If you’re bridging ETH to Arbitrum for the first time, remember these key steps:
Being proactive about timing and consolidation can help you optimize your Arbitrum bridge tutorial and keep your overall costs low. As 2025 rolls on, Arbitrum is poised for even bigger strides in scaling, security, and functionality. So if you’re seeking faster transactions, a thriving dApp environment, and less pain in your wallet from gas fees, Arbitrum might be the sweet spot you’re looking for.
Feel free to share your questions or experiences in the comments. It’s always helpful for others to see real-world stories—and that’s how we all get better at navigating Arbitrum (and crypto in general). Good luck, and enjoy smoother DeFi on Arbitrum!